Are you prepared to embark on a delightful culinary adventure, destined to craft the most mouthwatering pickled cauliflower from the heart of the United States? If you are, get ready for a treat like no other! In this all-encompassing guide, we are here to take you on a journey step by step, guaranteeing that your pickled cauliflower creation will emerge as a true masterpiece. From handpicking the freshest ingredients to the final act of sealing the jars, rest assured that we’ve got every aspect of this process covered for you.
Table of Contents
ToggleHow To Make Delicious Pickled Cauliflower From The United States?
Ingredients And Equipment

To start your pickling adventure, you’ll need the following ingredients and equipment:
Ingredients
1. Fresh Cauliflower Heads: The star of the show! Opt for fresh cauliflower heads that are crisp and free from blemishes. These will be the base of your pickled delight.
Also Read:- Pickled Asparagus
2. White Vinegar: A crucial ingredient that provides the tangy acidity essential for pickling. The vinegar preserves your cauliflower and infuses it with a delightful flavor.
3. Water: You’ll need water to dilute the vinegar and create the pickling brine. It’s the perfect partner for vinegar to strike the right balance.
4. Sugar: A touch of sweetness that harmonizes with the vinegar’s tanginess. It adds depth and complexity to the flavor profile of your pickled cauliflower.
5. Salt: Essential for enhancing the flavors and preserving the cauliflower. Salt not only seasons but also acts as a natural preservative.
6. Garlic Cloves: These aromatic cloves will add a subtle yet distinctive garlic flavor to your pickled cauliflower. They are key to making your pickles stand out.
7. Red Pepper Flakes: For those who enjoy a hint of spiciness in their pickles, red pepper flakes are the perfect addition. They infuse your cauliflower with a mild kick of heat.
Equipment
1. Canning Jars with Lids: These are where the magic happens. Canning jars are designed to preserve your pickled cauliflower. Make sure they come with tight-fitting lids to ensure a proper seal.
2. Large Pot: The pot is where you’ll create your pickling brine. It should be spacious enough to hold all the ingredients and allow room for stirring.
3. Cutting Board and Knife: These are your trusty companions for preparing the cauliflower. A good-quality knife and a cutting board will help you turn your cauliflower heads into uniform bite-sized florets, ensuring even pickling and an appealing presentation.
Preparing Your Cauliflower
Before you embark on your pickling journey, it’s essential to ensure that your cauliflower is in its prime condition. Give it a thorough examination, making sure it’s clean and free of any blemishes. This step is crucial in creating pickled cauliflower that not only tastes fantastic but also looks visually appealing.
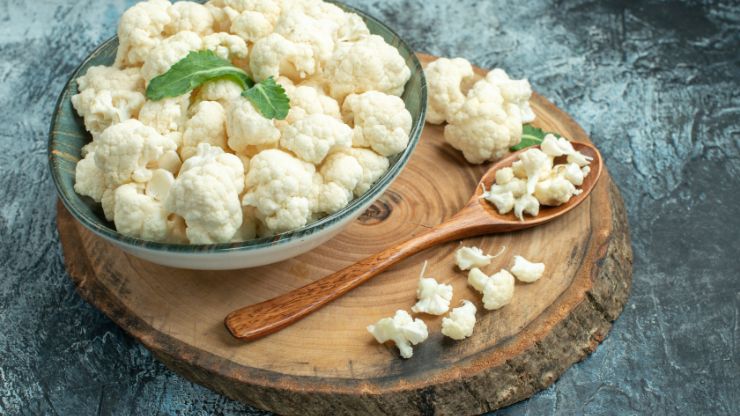
With your pristine cauliflower in hand, it’s time to transform it into bite-sized florets. The key here is uniformity in size. This consistency is not just for aesthetics; it ensures that your pickled cauliflower will be evenly infused with flavors during the pickling process. So, grab your knife and cutting board and get to work!
Don't just scroll, subscribe!
BuzzTrail's unique web-stories are the cure for boredom you've been waiting for.
Creating the Pickling Brine
Now, let’s talk about the heart and soul of your pickled cauliflower – the brine. The secret to crafting delicious pickled cauliflower lies in the harmonious blend of flavors within the brine.
In a spacious pot, bring together the following ingredients: white vinegar, water, sugar, salt, minced garlic cloves, and a pinch of red pepper flakes. It’s this unique combination that will infuse your cauliflower with a delightful kick of flavor. The garlic adds depth, while the red pepper flakes provide a subtle but satisfying heat.
Heat the brine until it’s nearly at the boiling point, all the while stirring to ensure that the sugar and salt dissolve completely. This ensures that every bite of your pickled cauliflower is perfectly balanced with these flavors.
Submerging the Cauliflower

With your cauliflower florets at the ready, it’s time to introduce them to their flavorful bath. Gently place the florets into your canning jars, making sure to leave a bit of space at the top. This space is crucial, as it allows room for the pickling brine.
Now, pour the hot pickling brine carefully into each jar, ensuring that the cauliflower is entirely submerged. This step is not just for aesthetics; it’s vital for the preservation of your cauliflower and the enhancement of its flavor. The brine will work its magic over time, transforming ordinary cauliflower into a tangy, mouthwatering delicacy.
Sealing the Jars
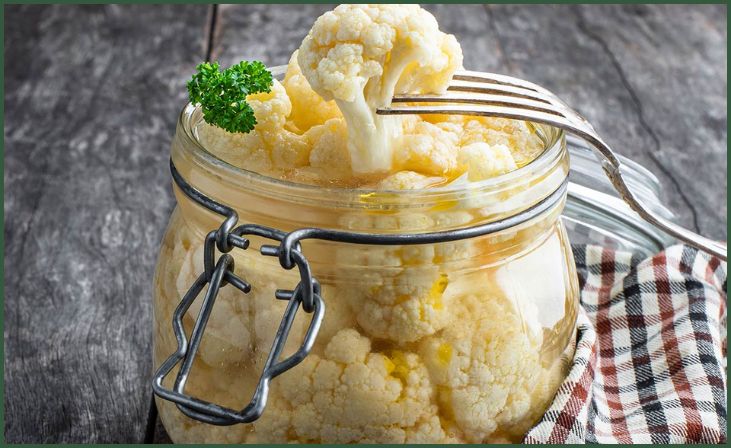
After filling the jars with your cauliflower and the flavorful brine, it’s time to seal them tightly with their lids. This step is essential for the pickling process. As the jars cool, you’ll notice a satisfying “pop” sound. This sound is the ultimate sign of a successful seal, assuring you that your pickled cauliflower will be preserved in all its delicious glory.
Patience Is Key
Now, the most challenging part of the pickling process – the waiting game. Patience is essential as you allow your pickled cauliflower to sit for at least a week. During this time, the flavors will meld together, and the cauliflower will become tender and incredibly flavorful. To achieve this, store the sealed jars in a cool, dark place.
To further enhance the pickling process, remember to give the jars a gentle shake every day. This distributes the flavors evenly and ensures that each floret is saturated with the delectable brine.
Also Read:- Pickled Vegetables Made In The USA
Serving Your Pickled Cauliflower

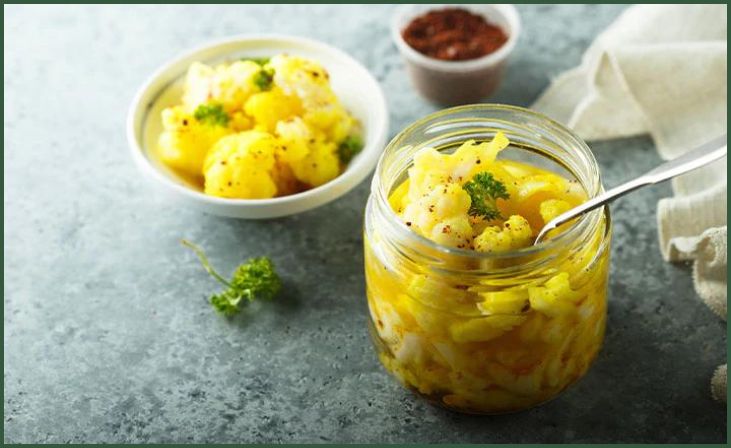
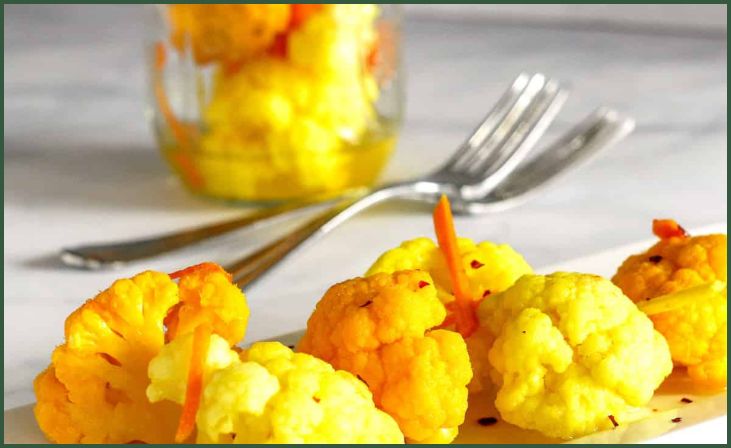
After the waiting period, your patience will be richly rewarded. Your delicious pickled cauliflower is now ready to grace your palate. These tangy florets make a fantastic addition to various dishes, including salads, sandwiches, or even as a tasty snack on their own. The versatility of pickled cauliflower means it can elevate any meal or serve as a delightful standalone treat.
Conclusion
Your journey to making delectable pickled cauliflower from the United States has come to a satisfying conclusion. Congratulations are in order! By following this comprehensive guide, you’ve acquired the skills and knowledge needed to create a mouthwatering dish that’s sure to leave a lasting impression.
But your pickling adventure doesn’t stop here; it’s just the beginning. Not only will your taste buds be treated to the tangy, flavorful delights of your homemade pickled cauliflower, but your friends and family will also be in for a culinary experience like no other.
What makes pickling so exciting is the opportunity for creativity. Don’t hesitate to experiment with different flavors and ingredients to customize your pickled cauliflower to your exact preferences. Add herbs, spices, or even other vegetables to create unique variations of this classic recipe. The possibilities are endless, and your pickled creations will be a testament to your culinary inventiveness.
And what’s more, sharing your pickled delights with loved ones is a joy in itself. It’s a gift of homemade goodness that can bring people together, create lasting memories, and spark delightful conversations around the dinner table. Your pickled cauliflower will become a conversation starter, a source of pride, and a cherished part of your culinary repertoire.
So, with your newfound pickling expertise, it’s time to get your hands busy and embark on this delightful journey. Happy pickling, and may your creations continue to delight and impress those fortunate enough to taste them!
FAQs
Q: How long can I store pickled cauliflower?
Q: How long can I store pickled cauliflower?
A: Properly sealed and stored pickled cauliflower can last for up to a year in a cool, dark place.
Q: Can I adjust the level of spiciness?
Q: Can I adjust the level of spiciness?
A: Yes, you can control the spiciness by adding more or fewer red pepper flakes to the brine.

