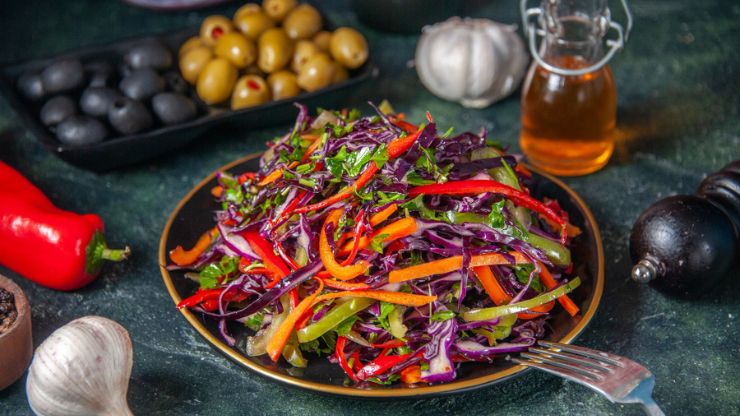
In the heat of summer, one wants a cool refreshing salad to serve with a sandwich meal. This fermented Israeli salad recipe is just the ticket. Make up several jars to have on hand for when you just cannot cook or are on the run all day and need a quick meal.
One of the fun things about traveling is trying the food of other cultures. Then comes the fun of wondering what happens if a nice, fairly plain salad, gets fermented. After all, we’ve seen saurkraut from a pre-sliced salad bag, so what about making a ferment out of Israeli salad?
The Israeli salad is quite basic. It has cucumbers, peppers, and tomatoes, finely sliced and usually served with a simple vinegar and oil dressing, sometimes with cheese. What happens when you ferment it? You end up with a tasty pickled salad, perfect as a garnish, particularly served with a crumble of mild cheese and a dusting of freshly sliced basil.
Israeli salad becomes a very colorful ferment if you use a yellow pepper to contrast with the red tomato and green cucumber.
Table of Contents
ToggleAn Amazing Fermented Israeli Salad Recipe
Ingredients:
Use quantities of the following sufficient for the number of people you will be serving.*
•Cucumber
• Pepper
• Tomato
• Salt: two tsp per pint, or four per quart.
Optional: fresh basil, mint, or oregano
Note: For the firmest ferment, use slightly green tomatoes, and do not include the seeds in the ferment.
Don't just scroll, subscribe!
BuzzTrail's unique web-stories are the cure for boredom you've been waiting for.
Quick Link: An Amazing Garlicky Fermented Green Bean Recipe
How to Make Fermented Israeli Salad
Directions:
Prepare your brine by dissolving the salt in a cup of fresh, non-chlorinated water. Set aside.
- Wash all your veggies, and rinse your fresh herbs.
- Tip and tail your cucumber, and slice in half lengthwise. Laying the slice flat on the cutting board, cut into four or five strips, and then finely slice crosswise. (The pieces of cucumber should be about a quarter inch by quarter inch, or slightly finer.)
- Slice the peppers and tomatoes to similar dimensions. The hallmark of Israeli salad is how finely the three ingredients are sliced.
- Finely mince any fresh herbs you are planning on adding, a favorite combination is basil and parsley, while mint on its own is quite refreshing.
- Pack the jar with your sliced veggies, with the finely chopped herbs sprinkled throughout. Partially fill the jar with brine, and shake down and add more veggies, and then more brine. If you need more liquid, top up the jar with plain water to complete the volume.
- Place your clean glass weight and secure your fermentation lock. Set the jar on a plate in a warm location.
You want this particular recipe to be slightly under fermented. If it’s hot, a pint can be completely ready in 24 hours, or even less. So, keep a close eye on your jar and put it into the fridge as soon as the cucumber skin starts to lose its bright green appearance and look dull. The jar will still be quite bubbly at this point, but the taste should be tangy, and the cucumber and pepper should still be crisp.
When your fermented Israeli salad is just barely under fermented, you can serve it more like a salad, or mixed with fresh veggies to add a vinegar/dressing-like tang. If the jar accidentally goes full ferment (as happened to me the first time when I thought it would be fine until I got home from work) it is still perfectly edible. Just serve as a pickle, not a salad.
*For a pint jar, you should need less than one cucumber, pepper, and tomato. For a quart, you may need two tomatoes, if small, and one pepper, and maybe one and a half cucumbers, of the pickling size.
Bottom Line
Our Amazing Fermented Israeli Salad Recipe offers a delightful fusion of tradition and innovation. The marriage of the classic Israeli salad with the benefits of fermentation creates a dish that not only celebrates the original flavors but also introduces a new depth and complexity. The probiotic richness enhances not just the taste but also the nutritional value of this beloved Middle Eastern dish. Whether you’re a fermentation enthusiast or a lover of fresh and zesty salads, this recipe promises a culinary adventure that transforms a simple salad into a probiotic powerhouse.
Frequently Asked Questions (FAQs)
How long does it take to ferment the Israeli salad?
How long does it take to ferment the Israeli salad?
Fermentation times can vary, but allowing the Israeli salad to ferment for about 3 to 5 days at room temperature should achieve a delightful balance of flavors and probiotic content.
Can I adjust the level of fermentation based on personal preference?
Can I adjust the level of fermentation based on personal preference?
Absolutely! The fermentation duration can be adjusted to suit personal taste preferences. Taste the salad during the fermentation process and refrigerate once it reaches the desired tanginess.
Can I use different vegetables in the fermented Israeli salad?
Can I use different vegetables in the fermented Israeli salad?
Certainly! While the classic ingredients include tomatoes, cucumbers, and herbs, feel free to experiment with additional vegetables like bell peppers or radishes to create your own unique variation.
How should I store the fermented Israeli salad?
How should I store the fermented Israeli salad?
Once the salad reaches the desired level of fermentation, transfer it to airtight containers and store in the refrigerator. This helps maintain the crispness of the vegetables while slowing down the fermentation process.

