Welcome to the captivating world of “Fermenting With Pumpkin (For Beginners),” where the rich flavors of fall and the art of fermentation unite. This blog serves as your gateway to exploring the versatile and probiotic-rich possibilities of fermenting pumpkins. Whether you’re a fermentation novice or a seasoned enthusiast, we’ll guide you through simple techniques, essential tips, and delightful recipes that transform humble pumpkins into tangy, gut-friendly creations.
Join us on this journey as we unravel the secrets of fermentation, making it accessible for beginners and inspiring a newfound appreciation for the seasonal charm of pumpkins. Let the earthy sweetness of pumpkins and the magic of fermentation come together, offering a delicious fusion that not only tantalizes your taste buds but also nurtures your well-being. Get ready to embark on a flavorful adventure that celebrates both the harvest season and the joys of fermentation.
Table of Contents
ToggleDELICIOUS WAYS FOR FERMENTING WITH PUMPKIN
FERMENTED PUMPKIN

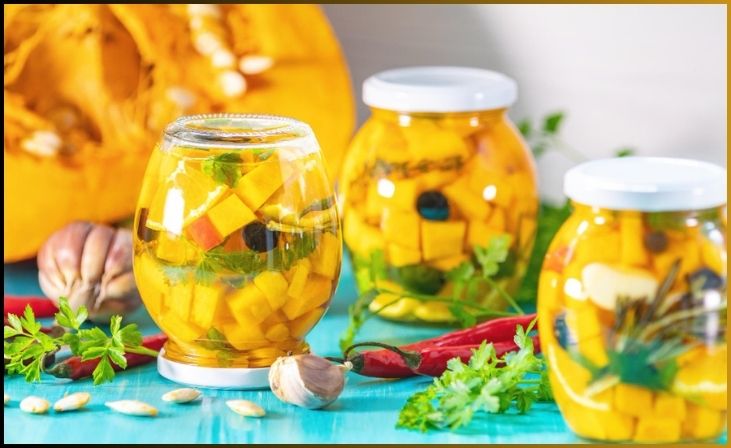
The most simple way is to ferment the pumpkin itself in raw chunks, just like any other vegetable. Chop the pumpkin into cubes, add your favorite spices and ferment in a brine using your Fermentools kit for about a week. Think of it as quick fall-spiced pumpkin pickles.
For More- Fermented Cranberries Recipe: Easy to Make
FERMENTED PUMPKIN SEEDS

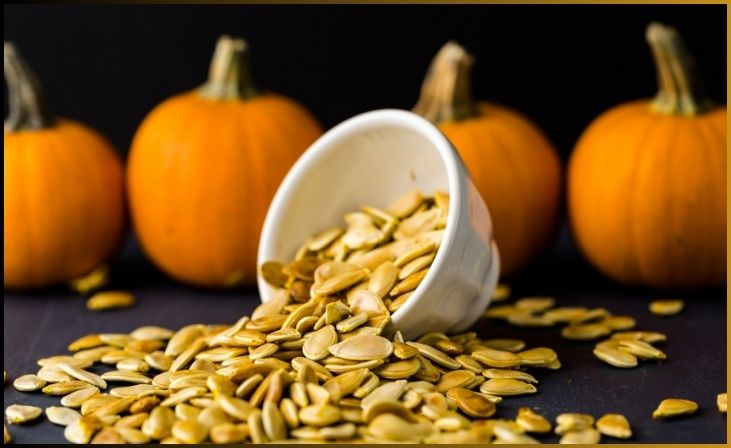
There’s always so many extra seeds when processing pumpkin, I’d love to find a good way to ferment them. You may want to try this recipe for fermented pepitas. It uses shell-less pepitas, which come from a special type of pumpkin that’s not commonly grown in gardens. Since I don’t grow them, I’m still looking for a good way to ferment fresh ones scooped out of more common pumpkin varieties. If you’ve tried it with success, share your secret in the comments below.
FERMENTED PUMPKIN KRAUT
I found another recipe that has you ferment shredded pumpkin in one fermenter and then a fresh batch of sauerkraut in another before mixing them for pumpkin confetti sauerkraut. Personally, I’d just mix them and ferment them together so they both have a fuller flavor, but to each is own
PUMPKIN BEER

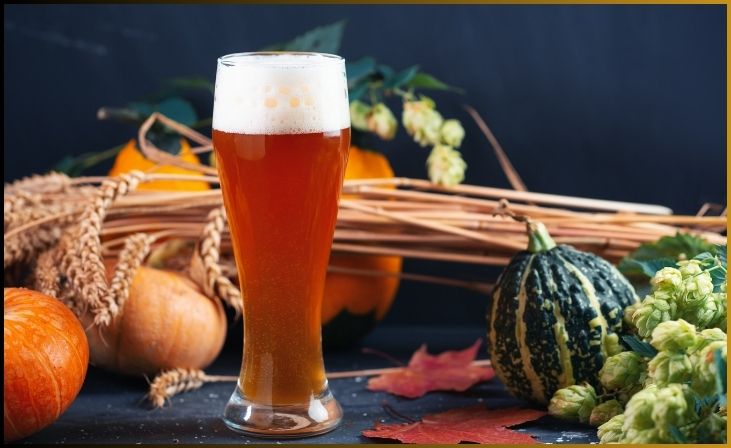
I’m a huge fan of homemade pumpkin beer, but it’s often messy to make. The pumpkin goops up the works and it’s hard to get all your equipment clean afterward. I was really impressed to find this guide from the beer and wine journal that has you use a pumpkin as the actual fermentation vesicle.
After scooping the seeds and goop out of the inside, you replace the pumpkin top and attach your fermentools water lock into a small hole at the top. The pumpkin serves as a sealed fermentation chamber and adds flavor at the same time.
Don't just scroll, subscribe!
BuzzTrail's unique web-stories are the cure for boredom you've been waiting for.
PUMPKIN WINE

Pumpkin beer just uses pumpkin as a flavoring agent, but most of the fermentables are coming from malted grain. An innovative recipe from common sense home just uses the pumpkin itself and ferments it into a simple pumpkin wine along with a bit of sugar. This method brings out even more pumpkin flavor and doesn’t hide it behind malt notes like in a beer.
PUMPKIN MEAD
On my agenda, this fall is a quick small batch pumpkin mead made with honey and pumpkin chunks in a mason jar using my Fermentools kit. In the past, I’ve gotten a bit overzealous with my beer, mead, and winemaking using one- and five-gallon fermenters. I still want to ferment, but large batch sizes mean I have way more than I actually want to drink. I’ve started making one-quart and half-gallon micro batch meads to scratch that fermentation itch without making more than I actually want to drink.
Understanding Pumpkin Fermentation: The Basics
Fermentation is a natural process that transforms raw ingredients into tangy, probiotic-rich delights. For beginners, the prospect of fermenting pumpkins might seem daunting, but fear not – it’s a rewarding and straightforward journey.
Essential Tools:
- Glass Jars: Ensure they are clean and sterilized.
- Weights: To keep the pumpkin submerged in brine.
- Airlock Lids: Allows gases to escape while preventing contaminants from entering.
- Sea Salt: Opt for non-iodized varieties for the best fermentation results.
Pumpkin Selection:
Choose fresh, firm pumpkins without any signs of mold or soft spots. Smaller varieties tend to ferment more evenly.
Brine Solution:
Creating a brine solution is a crucial step. It’s a simple mixture of water and salt that provides the ideal environment for fermentation. Aim for around 2-3% salt by weight.
Fermenting Pumpkin: Step-by-Step Guide
Now, let’s dive into the process of fermenting pumpkin, broken down into simple steps:
1. Preparing the Pumpkin:
- Wash, peel, and remove the seeds from the pumpkin.
- Cut the flesh into uniform pieces for even fermentation.
2. Creating the Brine:
- Dissolve the sea salt in water to create the brine solution.
- Ensure the salt is completely dissolved before proceeding.
3. Packing the Jar:
- Place the pumpkin pieces into the glass jar, leaving some space at the top.
- Pour the brine over the pumpkin, ensuring it’s fully submerged.
4. Weighing Down the Pumpkin:
- Use fermentation weights to keep the pumpkin submerged in the brine.
- This prevents exposure to air, reducing the risk of spoilage.
5. Applying the Airlock Lid:
- Secure the airlock lid on the jar. This allows gases produced during fermentation to escape without letting air in.
6. Fermentation Time:
- Place the jar in a cool, dark place and let the magic happen.
- Fermentation times can vary, but a week to ten days is a good starting point.
7. Taste Testing:
- After the initial fermentation period, taste the pumpkin. If it’s to your liking, move it to the refrigerator to slow down the fermentation process.
Also Read- Orange Spiced Fermented Blueberries Recipe
Conclusion
Embarking on the journey of fermenting with pumpkin as a beginner is an exploration of flavors, health benefits, and the joy of creating something unique. Whether you choose to pickle, kraut, or brew a spiced kvass, the world of pumpkin fermentation is as diverse as it is delicious. So, gather your pumpkins, equip yourself with the essentials, and let fermentation turn these seasonal staples into probiotic-rich wonders. This beginner’s guide is your companion into the enchanting realm of pumpkin fermentation, where each step is a celebration of autumnal alchemy and the joy of creating something both delightful and nourishing. Happy fermenting!
FAQs
How long does it take to ferment pumpkin, and how will I know it’s ready?
How long does it take to ferment pumpkin, and how will I know it’s ready?
Fermentation times can vary, but a week to ten days is a good starting point. Taste the pumpkin after this period; if it’s tangy and to your liking, move it to the refrigerator to slow down the fermentation process.
Can I use any type of pumpkin for fermentation?
Can I use any type of pumpkin for fermentation?
Yes, you can use various types of pumpkins for fermentation, including sugar pumpkins, pie pumpkins, or even butternut squash. Choose fresh and firm pumpkins for the best results.
What if I see bubbles during fermentation? Is that normal?
What if I see bubbles during fermentation? Is that normal?
Yes, seeing bubbles is a normal part of the fermentation process. It indicates that the beneficial bacteria are producing gases as they work their magic.

