
One of my favorite activities to do with a small child is to make ice cream in a zip-shut bag. It’s a great hands-on activity, active enough to keep them busy, and produces a delicious outcome. Now, I can add Sicilian granita to my activity list. While not requiring the shake, shake, shaking that ice cream does, the waiting time with granita can be occupied by reading a good book.
Have you recently made kefir cream cheese and are now wondering what to do with all that probiotic-rich acid whey? Your plants would enjoy it as a fertilizer if you dilute it 1:1 with water. And if you have the constitution for it, you can drink it straight for a sour, gut-healthy kick. You can also make your leftover whey into a delicious, gourmet-level dessert that is perfect for the hot months of summer.
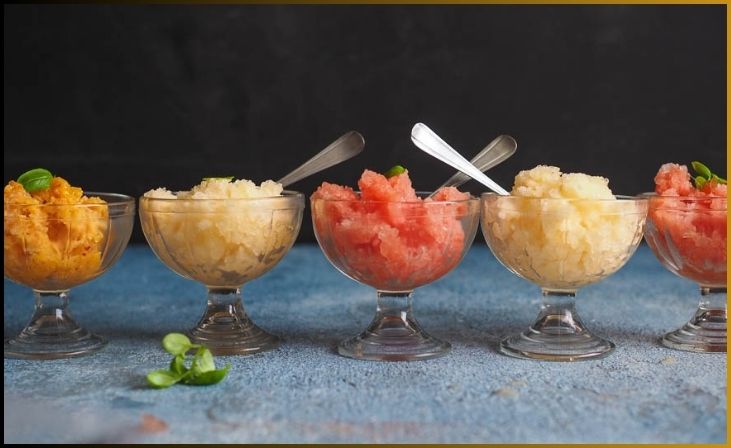
Do you have water? Sugar? A bit of salt? A spice or two? Then you have all it takes to make granita, a refreshing treat that glistens in a bowl like a handful of crystals and can flex to any flavor you want.
Originally from Sicily, making this dessert only requires time, a sheet pan, and a fork. And once you learn the process, you can use your imagination to make a different flavor every time.
What exactly is granita?
Indulge in a low-carb delight by embracing the world of zucchini noodles topped with pesto. This recipe takes the carb-conscious path while delivering a satisfying and flavorful meal. You can easily create zucchini noodles using a spiralizer or opt for the convenience of pre-spiralized zucchini, making the process a breeze.
To prepare, sauté the zucchini noodles until they reach a tender-crisp texture, creating a base that’s both light and satisfying. Next, toss the noodles with your choice of pesto sauce, whether it’s homemade or store-bought, infusing them with the aromatic and nutty essence of basil and pine nuts. The final touch is a sprinkling of grated Parmesan cheese, enhancing the dish with a creamy, salty note that completes this low-carb creation. Zucchini noodles with pesto provide a wholesome and low-carb alternative that’s as delicious as it is diet-friendly, making it a perfect choice for those seeking a lighter, yet equally delightful, dining experience.
How to Make Sicilian Granita
Here are the appropriate steps to make Sicilian Granita at home.
Ingredients You Need:
• 1 cup water
• 1 cup acid whey
• ¼ cup sweetener (sugar works, but honey or maple syrup can work, too!)
• ½ teaspoon salt
Directions:
- In a saucepan, boil 1 cup of water. Dissolve the sugar and pinch of salt in it, then let the mixture cool down to room temperature. Now, add the acid whey (you don’t want to add it to the hot syrup and kill all your wonderful bacteria buddies!)
- Place a baking sheet in your freezer (you might have to do some rearranging to make sure it can lay flat).
- Pour the granita syrup onto the baking sheet and allow to cool for 30 minutes.
- Take out the pan, and scrape apart the material with a fork. The process I use is a very technical-sounding “Fluff and Smush.” I scrape at the ice to make some nice mounds, then smash it down with the fork to break up any chunks.
- It will look like a half-melted slushie this first round.
- After 30 more minutes, take the pan out, and scrape at it again. This time, you should start seeing some nice crystals forming. Fluff, smush, and spread evenly.
- After 30 more minutes, your granita might be ready. If not fully frozen, fluff, smush, and give it another 20 minutes.
Quick Link: 9 Speedy and Flavorful 30-Minute Vegetarian Meals
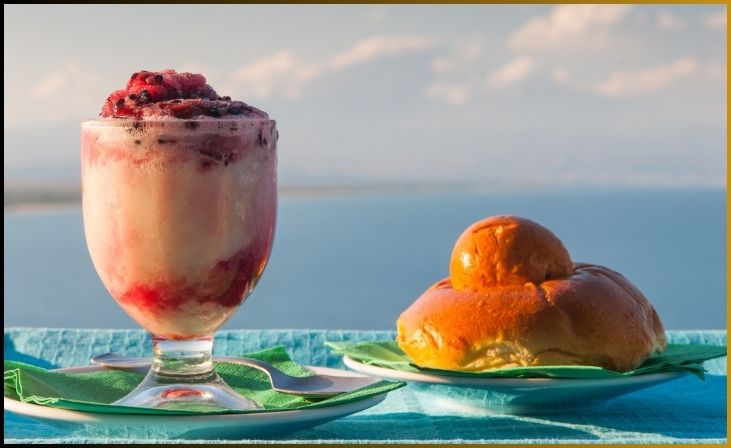
How to Serve and Flavor Granita
To serve, spoon out into a bowl (I find wooden bowls help insulate it nicely on a hot day!), and then add your flavors. The following flavors are my suggestions, but you can certainly make up one that sounds good to you!
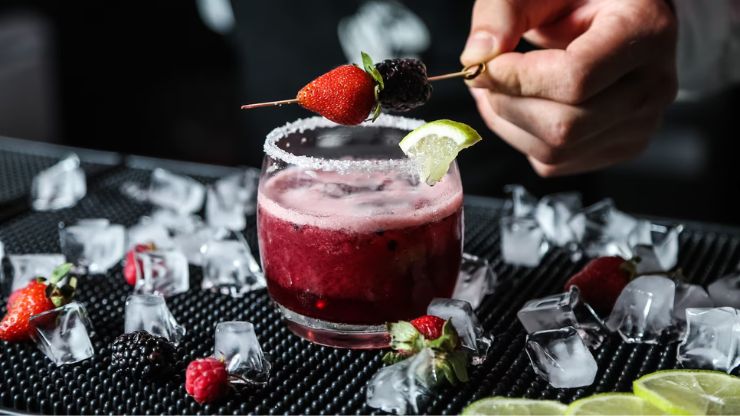
Summery Granita:
To the four bowls of frozen and fluffed granita base, top with the following:
• Sliced strawberries
• Blackberries
• A sprig of mint, as a garnish
• Lemon zest, as a garnish
Tropical Granita:
When heating the granita base, add 2 teaspoons/2 teabags of rooibos tea and a dash of cinnamon, and allow to brew while the syrup cools. Strain out all solids before mixing in the whey and pouring onto the baking sheet in the freezer.
Once frozen, top with the following:
• a handful of diced mango
• slivered almonds
• juice of 1 lime
• lime zest
Granita can be stored in a container in the freezer for up to a week, but you’ll need to give it a good re-fluffing before serving it again.
NOTE: You can increase/reduce the sugar to suit your taste, but you can’t take it out completely if you want the fluffy crystals that are typical to granita. My husband and I tried a no-sugar version, and we ended up with a solid chunk of ice that was impossible to fluff.
What tastes should you try?
Lemon: Opt for organic, sun-ripened lemons with a sweet, not sour, flavor. The sweeter the lemon, the better the granita!
Citrus Fruit (Orange or Tangerine): You can use either common oranges or blood oranges for these recipes. Follow the same recipe as the lemon granita.
Mulberries and Lemon: This combination is deeply rooted in Sicilian tradition. Mulberries, akin to blackberries, with their sweet taste, pair wonderfully with the zesty kick of lemon. Here’s the recipe: Squeeze 200g of mulberries or blackberries, strain the liquid, and combine it with 50ml of lemon juice.
Strawberries, Melon, Watermelon: These delicious fruits create a remarkably tasty granita. You’ll need about 250ml of well-sieved fruit puree.
Coffee: For a rich coffee granita, use a very short, high-quality coffee like Illy or Nespresso’s Volluto. You’ll need about 250ml of coffee and 600g of sugar (if the sugar doesn’t dissolve, add some water – warm the mixture slightly but don’t let it boil).
Almond or Pistachio Nuts: To make an almond or pistachio-nut granita, you’ll need about 300ml of almond or pistachio-nut milk. Follow the recipe below, stirring and mixing thoroughly every 30 minutes for a softer and creamier texture.
Bottom Line
Sicilian granita is not just a dessert; it’s a taste of Sicily’s rich culinary heritage and a refreshing escape from the everyday. Making your own granita at home allows you to savor the flavors of this Mediterranean paradise and share them with your loved ones. Whether you choose the traditional lemon version or one of the many exciting variations, you’re sure to be transported to the sunny shores of Sicily with every spoonful.
FAQs
Yes, you can make granita without a machine. Simply pour the mixture into a shallow dish, like a baking pan, and place it in the freezer. Use a fork to scrape and stir the mixture every 30 minutes until it reaches the desired consistency.
The time required varies depending on the recipe and your freezing method. On average, it takes about 4-6 hours to make granita at home, including freezing and stirring intervals.
To get the ideal granita texture, make sure to scrape and stir the mixture regularly while freezing. This helps create the characteristic small ice crystals that give granita its unique consistency.
Yes, you can store leftover granita in the freezer for a short period. However, it’s best to consume it within a day or two to maintain the desired texture and flavor. Simply scrape it with a fork before serving if it becomes too hard.