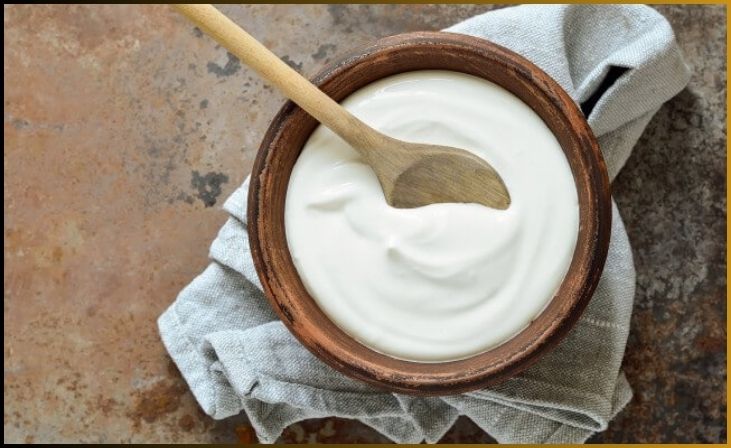
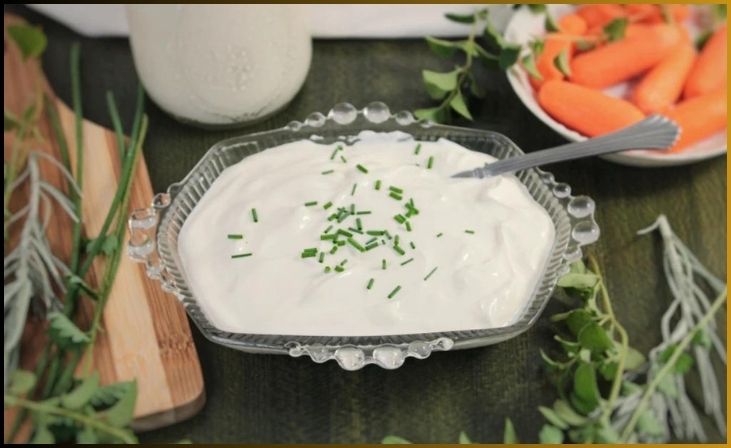
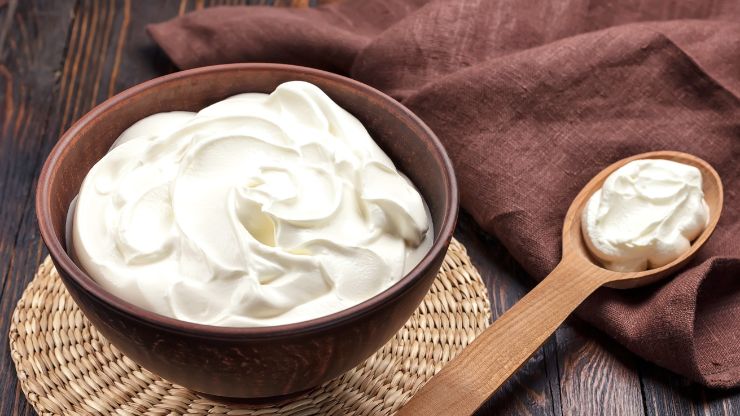
Sour cream, with its rich and tangy flavor, is a versatile ingredient that can elevate a wide range of dishes, from tacos and baked potatoes to desserts and dips. While it’s readily available at grocery stores, there’s something truly satisfying about crafting your own homemade sour cream. Not only does it allow you to control the ingredients, but it also offers a sense of accomplishment and a chance to experiment with flavor and texture.
In this guide, we’ll walk you through the steps of making sour cream from scratch. You’ll discover that the process is surprisingly simple, requiring just a few key ingredients and some patience. So, if you’re ready to dive into the world of homemade dairy delights, let’s get started on your journey to crafting the perfect sour cream.
Table of Contents
ToggleIngredients You’ll Need
Before you begin, make sure you have the following ingredients on hand:
- 1 cup of heavy cream
- 2 tablespoons of cultured buttermilk
- A clean glass container with a lid
- A whisk or spoon for stirring
Also Read- Cultured Raw Milk Butter for Your Holiday Table
The Process of Making Sour Cream

Now, let’s delve into the step-by-step process of making sour cream:
Step 1: Prepare Your Equipment
Before diving into the process of making cultured raw milk butter, it’s crucial to prepare your equipment. Start by ensuring that all your utensils, particularly the glass container where the cream will ferment, are thoroughly cleaned and sterilized to prevent unwanted contaminants. Your hands should be clean, and your work surface free from any potential sources of contamination.
Whether you’re using a manual butter churn or an electric mixer, make sure your equipment is in good working order and ready to churn the cream. Having everything clean and prepped sets the stage for a successful butter-making adventure, ensuring your cultured raw milk butter turns out creamy, flavorful, and free from unwanted bacteria or flavors.
Step 2: Combine Cream and Buttermilk
In the process of making cultured raw milk butter, the first step is to combine heavy cream and cultured buttermilk. This simple yet crucial step initiates the transformation of cream into butter. The cultured buttermilk serves as an inoculant, introducing the beneficial bacteria needed for fermentation.
As the two components are gently mixed, the stage is set for the development of that characteristic tangy flavor and creamy texture that distinguishes cultured raw milk butter from its unsalted sweet cream counterpart. This combination is the foundation upon which your homemade butter will be crafted, and it’s the start of a delicious journey into the world of butter making.
Step 3: Mix Thoroughly
Once the heavy cream and cultured buttermilk are combined in your clean glass container, the next step is to mix them thoroughly. Using a spoon or whisk, gently stir the mixture to ensure that the cream and buttermilk are fully incorporated. The aim is to create a uniform mixture, free from any lumps or separation.
This thorough mixing is vital to initiate the fermentation process by evenly distributing the beneficial bacteria present in the buttermilk throughout the cream. It’s the crucial stage where the transformation from liquid cream to tangy, creamy butter begins, setting the foundation for the delightful flavor and texture you’re aiming to achieve in your homemade cultured raw milk butter.
Step 4: Cover and Let Ferment
After thoroughly mixing the heavy cream and cultured buttermilk, the next step in making cultured raw milk butter is to cover the container securely and allow the mixture to ferment. This phase is where the magic of transformation takes place, as beneficial bacteria from the buttermilk begin to work on the cream. The container should be sealed with a lid to create an airtight environment, promoting the fermentation process.
The ideal temperature for this fermentation is around 70°F or 21°C. During this period, which typically lasts between 12 to 24 hours, the bacteria convert the cream into butter, imparting the tangy flavor and thickening the mixture. The result is a creamy, flavorful delight that will elevate your culinary creations and grace your holiday table.
Don't just scroll, subscribe!
BuzzTrail's unique web-stories are the cure for boredom you've been waiting for.
Step 5: Check for Desired Consistency
Once your homemade cultured raw milk butter has undergone the fermentation process, it’s essential to check for the desired consistency. The duration of fermentation plays a significant role in determining the tanginess and thickness of your butter. After the initial 12 to 24 hours, assess the texture and flavor. If you prefer a milder taste and a slightly thinner consistency, you can stop the fermentation.
However, if you desire a more pronounced tang and a thicker texture, you can leave it out for a few more hours. This flexibility allows you to tailor your cultured raw milk butter to your personal taste, ensuring it’s precisely the way you like it before moving on to the final steps of shaping and storing.
Step 6: Refrigerate
After achieving your desired consistency and flavor, the final step in making cultured raw milk butter is to refrigerate it. Placing the butter in the refrigerator helps slow down the fermentation process and preserves the achieved tangy flavor and texture. Ensure you store the butter in an airtight container to prevent it from absorbing unwanted odors or moisture from the refrigerator.
Keeping it at a temperature between 33°F and 40°F (0.5°C to 4.4°C) will maintain its freshness and quality. Once refrigerated, your homemade cultured raw milk butter is ready to be enjoyed on a variety of dishes, adding a creamy, tangy touch to your culinary creations.
Customizing Your Sour Cream

One of the great advantages of making your own sour cream is the opportunity to customize it to your liking. Here are a few ways to personalize your sour cream:
Adjusting Tanginess
The longer you let your cream ferment, the tangier your sour cream will become. If you prefer a milder taste, stick to the lower end of the fermentation time (around 12 hours). For a more intense tang, leave it out for the full 24 hours.
Flavor Variations
Feel free to experiment with flavor variations. You can add a pinch of salt for extra seasoning or incorporate herbs and spices to create unique flavored sour creams. Dill, chives, or paprika are excellent choices to enhance the taste.
Thickness
If you want a thicker consistency, you can let your sour cream ferment for a longer period. Alternatively, you can strain the sour cream using cheesecloth to remove excess whey, resulting in a thicker texture similar to sour cream cheese or crème fraîche.
Storing Your Homemade Sour Cream
To maintain the quality and freshness of your homemade sour cream, it’s essential to store it correctly. Here are some storage tips:
- Keep it refrigerated at all times. Sour cream should be stored in the refrigerator at temperatures between 33°F and 40°F (0.5°C to 4.4°C).
- Use an airtight container to prevent moisture loss and the absorption of unwanted odors from the fridge.
- Consume your homemade sour cream within 7 to 10 days to ensure it retains its best flavor and texture.
Now that you know how to make sour cream at home, you can enjoy the satisfaction of creating this creamy, tangy delight from scratch. Whether you use it to enhance your savory dishes, add depth to your desserts, or as a condiment, your homemade sour cream will undoubtedly elevate your culinary creations.
Also Read- How to Make Cultured Almond Milk
Bottom Line
In the world of homemade delights, crafting your own sour cream is a rewarding endeavor. This tangy, versatile ingredient can elevate a wide range of dishes, adding depth and flavor that store-bought varieties can’t quite match. The process is surprisingly simple, allowing you to create a custom-made condiment with the level of tanginess and flavor you desire. By following this guide, you’ve unlocked the secret to making creamy, tangy sour cream that will not only enhance your culinary creations but also provide a sense of accomplishment in your kitchen.
So, whether you’re topping a baked potato, adding a dollop to your taco, or incorporating it into your dessert recipes, your homemade sour cream will undoubtedly be a star ingredient on your dining table.
FAQs
Can I use low-fat or light cream to make sour cream?
Can I use low-fat or light cream to make sour cream?
While it’s possible, using heavy cream is recommended for a richer and creamier texture. Lighter creams may result in a thinner consistency.
What is the purpose of buttermilk in making sour cream?
What is the purpose of buttermilk in making sour cream?
Buttermilk contains beneficial bacteria that initiate the fermentation process, turning cream into sour cream. It contributes to the distinctive tangy flavor.
How can I make flavored sour cream at home?
How can I make flavored sour cream at home?
To create flavored variations, add herbs, spices, or seasonings during the mixing step. Experiment with ingredients like garlic, dill, or paprika for unique flavors.
What should I do if my homemade sour cream is too runny?
What should I do if my homemade sour cream is too runny?
If you prefer a thicker consistency, let it ferment for a longer period. Alternatively, strain the sour cream through cheesecloth to remove excess whey.

