
In the vast expanse of culinary exploration, Kombucha-Fermented Beef Jerky emerges as a captivating blend of time-honored tradition and cutting-edge innovation. This article embarks on a flavorful journey, unraveling the intricate tapestry of tastes, health advantages, and the captivating process that introduces this delightful treat to your dining experience.
Picture this: a culinary landscape where the age-old technique of fermentation meets the modern trend of beef jerky, resulting in a product that transcends the ordinary. Kombucha-Fermented Beef Jerky isn’t just a snack; it’s a harmonious convergence of flavors and techniques passed down through generations, now presented in a contemporary twist.
Delving into the heart of this gastronomic marvel, you’ll discover a spectrum of tastes that dance on your palate. The fermentation process, a time-honored practice, imparts a depth of flavor that goes beyond the surface. It’s a process where the natural sugars in Kombucha and the savory essence of beef meld together, creating a symphony of taste that is both nuanced and robust.
Kombucha-Fermented Beef Jerky: A Symphony of Flavors
Indulge your senses in the culinary masterpiece that is Kombucha-Fermented Beef Jerky, a sensory symphony that transcends the ordinary. Let’s take a deep dive into the intricacies of its creation, where the art of fermentation transforms humble ingredients into a harmonious medley of taste.
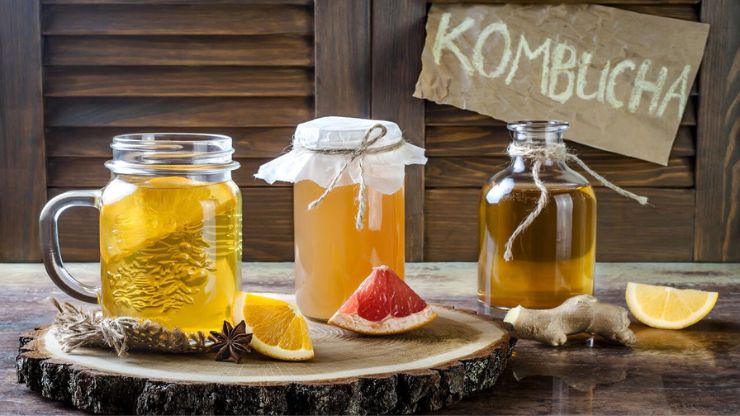
The Art of Fermentation
Embark on a fascinating journey into the heart of flavor alchemy. The process of fermenting beef jerky with the infusion of Kombucha is nothing short of magical. Imagine the convergence of simple ingredients – quality beef, the effervescence of Kombucha, and a dash of patience. This is where the transformation begins, as these elements meld and evolve, orchestrated by the hands of time.
Also Read:- How To Start With Fermented Foods
The alchemical dance of fermentation is a delicate balance, where the sugars in Kombucha and the savory essence of beef engage in a slow tango. This dance of transformation results in a beef jerky that goes beyond the ordinary, offering a spectrum of tastes that dance on your taste buds. Each piece becomes a canvas painted with the richness of tradition and the innovation of the present, creating a symphony of flavors that lingers on the palate.
Health Boost with Probiotics
Beyond the sheer delight to your taste buds, Kombucha-Fermented Beef Jerky introduces a health-conscious element to your snacking routine. This isn’t just a treat; it’s a nutritious infusion of probiotics, elevating its status from a simple snack to a gut-friendly indulgence.
As you savor the tantalizing taste, your gut is treated to a nourishing boost. Probiotics, the beneficial bacteria cultivated during the fermentation process, take center stage. These microscopic heroes not only enhance the flavor profile but also contribute to the well-being of your digestive system.
Picture this – with every bite of Kombucha-Fermented Beef Jerky, you’re not just enjoying a snack; you’re nourishing your gut with the goodness of probiotics. It’s a fusion of pleasure and wellness, where the culinary arts and health-conscious choices intertwine seamlessly.
Crafting Kombucha-Fermented Beef Jerky at Home
Embark on a culinary adventure by bringing the art of crafting Kombucha-Fermented Beef Jerky into your own kitchen. This section unveils the secrets behind this gastronomic marvel, putting you in the driver’s seat of your jerky-making journey.
Ingredients Spotlight
Let’s begin our journey by shining a spotlight on the essential ingredients that transform Kombucha-Fermented Beef Jerky into a nutritional powerhouse. Quality beef takes center stage, selected with precision to ensure the perfect balance of tenderness and flavor. This is the canvas upon which the magic unfolds.
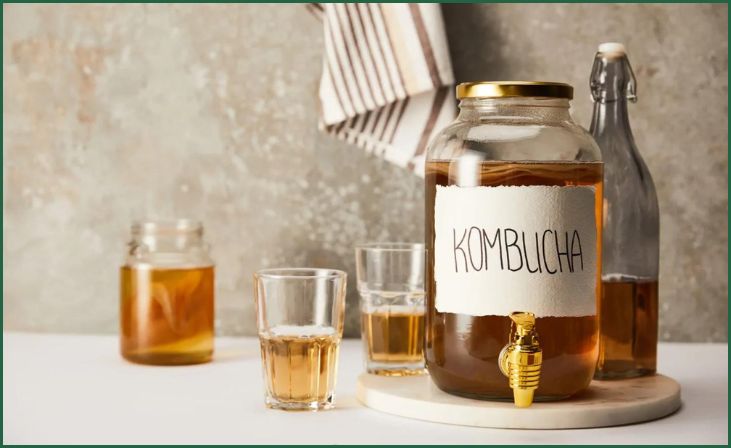
Enter Kombucha, the enchanted elixir that imparts not only its unique tang but also its effervescence to the mix. As you delve into the process, recognize that each ingredient has a crucial role to play. The marriage of these elements is what elevates this jerky to gourmet status.
It’s more than just a snack; it’s a nutritional journey. The beef provides essential proteins, while Kombucha adds a layer of complexity, introducing probiotics that contribute to gut health. Together, they create a fusion of taste and nutrition, making Kombucha-Fermented Beef Jerky a standout in the world of homemade delights.
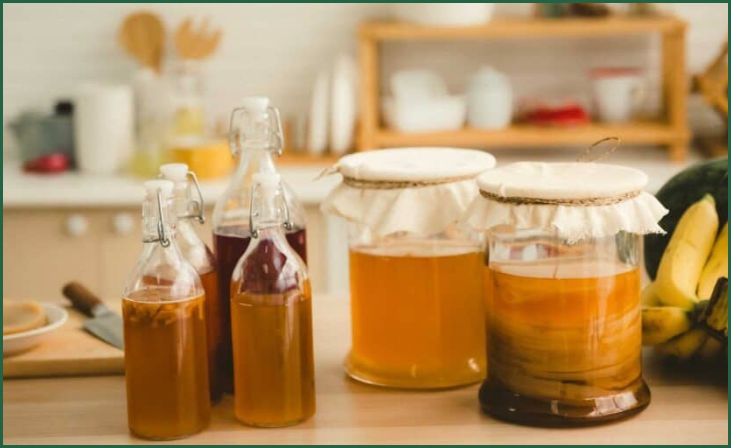
DIY Fermentation Guide
Now, let’s dive into the heart of the matter – the step-by-step guide to fermenting beef jerky at home. Consider this your culinary roadmap, guiding you through the enchanting process of transforming raw ingredients into a gourmet masterpiece.
Prepare Quality Beef: Start with the foundation – choose high-quality beef, preferably lean cuts, to ensure the best texture and flavor.
Marinate with Kombucha: Create a marinade infused with the magic of Kombucha. Allow the beef to soak in this elixir, letting the flavors meld and infuse.
Patience is Key: Place the marinated beef in a controlled environment, allowing the slow dance of fermentation to commence. Patience is the secret ingredient here.
Monitor the Process: Keep a keen eye on the transformation. The alchemy unfolds over 24 to 48 hours, depending on your desired flavor intensity.
Savor the Satisfaction: As the process concludes, revel in the satisfaction of crafting your own Kombucha-Fermented Beef Jerky. Each piece is a testament to your culinary prowess.
Exploring Flavor Varieties

Embark on a sensory journey as we unravel the diverse world of Kombucha-Fermented Beef Jerky, where flavors transcend the ordinary. Let’s delve into two enticing variations that elevate your jerky experience into a realm of taste exploration.
Tangy Teriyaki Twist
Picture this: a fusion of tangy Kombucha notes entwined with the timeless allure of classic teriyaki flavor. This variant of Kombucha-Fermented Beef Jerky is a dance of contrasts that adds a delightful twist to your snacking indulgence.
As you bite into a piece of Tangy Teriyaki Twist, the first sensation is a burst of tanginess, courtesy of the Kombucha infusion. It’s a subtle yet refreshing note that paves the way for the rich, savory embrace of teriyaki. The marriage of these flavors creates a harmonious symphony on your taste buds, inviting you to savor each moment of this culinary experience.
This variant isn’t just jerky; it’s a journey. It’s an exploration of taste where the tanginess of Kombucha meets the time-tested allure of teriyaki, resulting in a jerky that’s both familiar and refreshingly innovative.
Spicy Infusion Extravaganza
For the bold souls seeking an exhilarating flavor adventure, the Spicy Infusion Extravaganza awaits. This rendition of Kombucha-Fermented Beef Jerky promises a fiery kick with every bite, inviting you to spice up your snacking routine.
Also Read:- Fermented Carrots For A Lunchbox Treat
As you sink your teeth into the Spicy Infusion Extravaganza, be prepared for a flavor explosion. The heat, courtesy of the spicy Kombucha infusion, gradually intensifies, creating a symphony of sensations that dance on your palate. It’s a bold and daring experience, perfect for those who relish the thrill of spice in every culinary escapade.
This variant isn’t just about heat; it’s about an infusion of excitement into your snacking repertoire. It’s an extravaganza of flavors that caters to the adventurous spirit, inviting you to elevate your jerky experience with a tantalizing kick.
Conclusion
In the vast and diverse world of culinary delights, Kombucha-Fermented Beef Jerky emerges as a shining star, uniquely combining both exceptional taste and inherent health benefits in every savory bite. It stands as a testament to the evolution of traditional snacking into a realm where innovation and wellness converge, creating an unparalleled treat that transcends the ordinary.
The distinctive feature of Kombucha-Fermented Beef Jerky lies in its ability to redefine the snacking experience. It’s not just about satisfying cravings; it’s about elevating your palate to new heights. With each bite, this innovative treat invites you on a flavorful journey that marries the rich tapestry of taste with the goodness of health. It’s a marriage of indulgence and well-being, where the ordinary transforms into something extraordinary.
FAQs
Absolutely! The fermentation process ensures the safety of the jerky, making it a delightful option for all.
Patience is key. The fermentation process typically takes 24 to 48 hours, depending on the desired flavor intensity.