Mold or Yeast – Are you interested in differentiating between mold and yeast but unsure where to start? Look no further than this comprehensive guide, meticulously designed to unravel the nuanced disparities between these two microorganisms.
Within this article, you will discover a wealth of valuable insights and practical tips that will enable you to discern mold from yeast with precision and confidence. Whether you’re a homeowner, a food enthusiast, or simply someone eager to learn, this guide promises to equip you with the necessary knowledge to identify these often perplexing elements accurately.
Table of Contents
ToggleMold or Yeast: Key Differences
Distinguishing between mold and yeast is essential, as they represent two distinct types of fungi with varying characteristics, growth patterns, and effects on our surroundings. Understanding their disparities is crucial for effective management and prevention. Below, we delve into the key differences between mold and yeast, shedding light on their unique attributes and the implications of their presence in various environments.
Also Read: Uses for Whey
Definition and Characteristics:

Mold
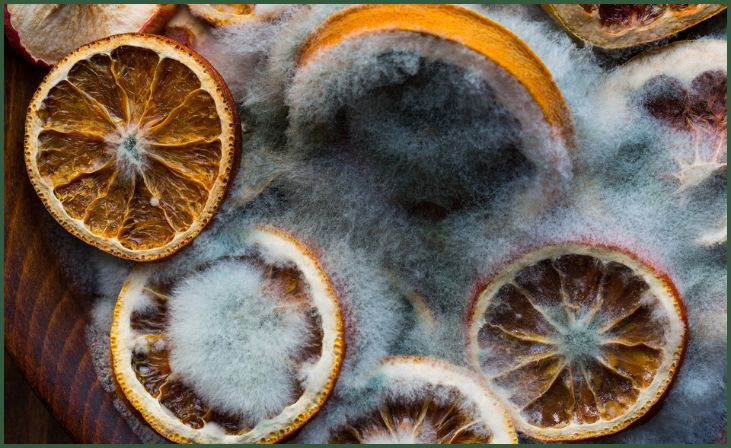
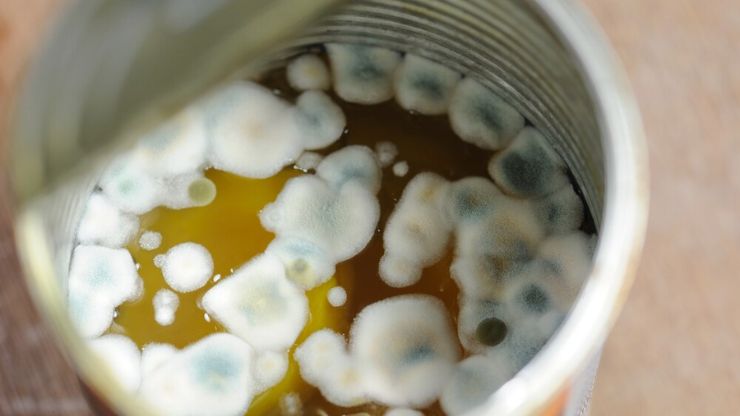
Mold refers to a type of multicellular fungus that thrives in moist and humid environments, utilizing organic matter as a source of nutrition. It reproduces through the production of spores, which can easily disperse through the air, leading to the rapid spread of mold colonies.
Mold often appears as fuzzy or powdery patches on surfaces, varying in colors such as green, blue, black, or white, depending on the species and the surface it inhabits. Its growth is commonly observed in areas with poor ventilation, water damage, or high humidity levels, posing potential health risks and structural damage if left unaddressed.
Yeast
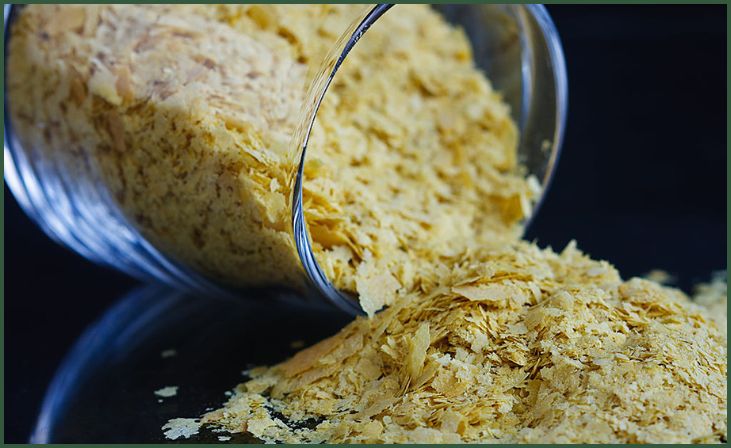
Yeast represents a type of single-celled fungus that plays a significant role in various biological processes, including fermentation and baking. It is commonly utilized in the food and beverage industry for its ability to convert sugars into alcohol and carbon dioxide, contributing to the production of bread, beer, wine, and other fermented products.
Yeast cells are typically oval or spherical in shape, with some species capable of reproducing through a process called budding, where a smaller cell or bud emerges from the parent cell. While certain types of yeast are beneficial, an overgrowth of specific strains can lead to various health issues, necessitating proper management and control measures.
Growth Patterns and Environmental Requirements
Mold
Mold growth is prevalent in areas with excessive moisture, poor ventilation, and organic material for nourishment. It can proliferate on various surfaces, including walls, ceilings, carpets, and organic materials like paper, wood, and fabric. Some common types of mold, such as black mold (Stachybotrys chartarum), can also thrive in water-damaged environments, posing health risks to individuals exposed to its spores.
Don't just scroll, subscribe!
BuzzTrail's unique web-stories are the cure for boredom you've been waiting for.
Yeast
Yeast thrives in environments with an abundant supply of sugars, such as fruits, flowers, and nectar. It is commonly utilized in fermentation processes, converting sugars into alcohol and carbon dioxide. Additionally, some strains of yeast can be found in the human body, especially in the gastrointestinal tract, aiding in digestion. However, an overgrowth of certain types of yeast, such as Candida, can lead to various infections and health complications.
Also Read: Salt Preserved Limes
Health Implications
Mold
Exposure to mold spores can lead to a range of health issues, particularly in individuals with allergies or respiratory conditions. Symptoms of mold exposure may include coughing, wheezing, nasal congestion, skin irritation, and eye irritation. Prolonged exposure to certain types of mold, such as black mold, can result in severe respiratory problems and other health complications, making it essential to address any mold infestations promptly.
Yeast
While certain types of yeast are beneficial and essential for various processes, an overgrowth of specific strains can lead to infections and health problems. Candida overgrowth, for instance, can cause conditions like oral thrush, yeast infections, and invasive candidiasis, particularly in individuals with weakened immune systems. Balancing the yeast population in the body is crucial for maintaining overall health and well-being.
Effects on Various Environments:

Mold
Mold infestations can significantly impact indoor air quality and the structural integrity of buildings. In addition to causing unpleasant odors and aesthetic issues, mold can gradually deteriorate surfaces and materials, leading to structural damage if left unaddressed. Furthermore, the presence of mold in residential or commercial spaces can lead to concerns about the overall health and well-being of occupants, necessitating immediate remediation and preventive measures.
Yeast
In environments where fermentation and brewing occur, yeast plays a crucial role in the production of various foods and beverages. Its presence is essential for processes such as bread-making, beer brewing, and wine fermentation, contributing to the creation of a wide array of culinary delights. However, in medical settings, an overgrowth of yeast can pose significant health risks, emphasizing the need for proper hygiene and infection control measures.
Understanding these key differences between mold and yeast is imperative for effective identification, prevention, and management. By staying informed and implementing appropriate measures, individuals can safeguard their health, homes, and workspaces from the adverse effects of these fungi.
Also Read: How Does Alcohol Fermentation Work
Conclusion
To summarize, grasping the distinctions between mold and yeast holds paramount importance in upholding a wholesome and balanced environment. Armed with the practical insights outlined in this article, you possess the ability to not only distinguish between these entities effectively but also to proactively implement essential measures that can deter their unwarranted spread and ensure a healthier living space for yourself and those around you.
FAQs
Can mold and yeast both grow on food?
Can mold and yeast both grow on food?
Yes, both mold and yeast can thrive on various food items, especially under specific conditions such as high moisture and warm temperatures.
What are the common health risks associated with mold and yeast exposure?
What are the common health risks associated with mold and yeast exposure?
Exposure to mold can lead to respiratory issues, allergies, and even skin irritation, whereas yeast overgrowth may result in fungal infections and digestive disturbances, particularly in individuals with compromised immune systems.

