
Picture this: a jar filled with colorful, bite-sized delights, each piece bursting with a tantalizing blend of sweet and tangy flavors. These are none other than pickled sanditas, a hidden culinary gem waiting to be discovered. Whether you’re just starting your kitchen journey or a seasoned chef looking for a new culinary adventure, this guide is your key to unlocking the secrets of creating healthy and delicious pickled sanditas.
In this article, we’ll take you on a flavorful journey, delving into every aspect of making pickled sanditas that will leave your taste buds tingling with delight. From carefully selecting the freshest sanditas to crafting the perfect brine, we’ll walk you through the process step by step. It’s time to embark on a culinary adventure that promises a taste of the extraordinary.
How To Make Healthy And Delicious Pickled Sanditas?
The moment you’ve been waiting for is here. Learn the secret to making your pickled sanditas not only delicious but also healthy. These pickles are low in calories and a good source of vitamins
1. Selecting the Finest Sanditas
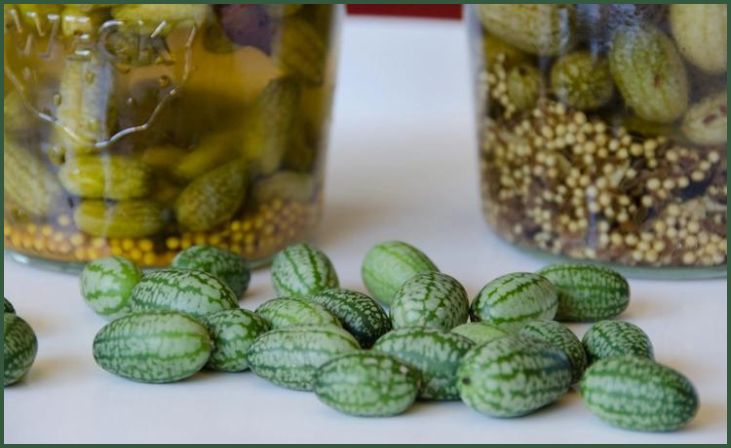
To embark on your journey to perfect pickled sanditas, it all begins with the selection of the finest fruit. The key here is “freshness.” Opt for sanditas that are not only ripe but also firm and free from any unsightly blemishes. Your choice of sanditas plays a pivotal role in determining the ultimate flavor of your pickles. The vibrant, juicy goodness of fresh sanditas is the first step towards culinary excellence.
Also Read:- American-Style Pickled Relish
2. Gather Your Supplies
Before you immerse yourself in the pickling process, it’s essential to ensure that you have all the necessary supplies at your fingertips. Your pickling adventure will require clean mason jars, vinegar, sugar, and an array of spices to infuse your sanditas with that signature sweet and tangy taste. Don’t forget your hand-picked sanditas; they are, after all, the stars of this culinary show.
3. Preparing the Sanditas
Once your ingredients and equipment are ready, it’s time to prepare the star of the show – the sanditas themselves. Begin by giving these little gems a thorough wash to ensure they are squeaky clean. Now, it’s your chance to get creative. While round slices are a popular choice, don’t hesitate to experiment with different cuts. The way you prepare your sanditas can add a unique touch to your pickled creation.
4. The Magic of Brine
Here’s where the real transformation begins. The magic lies in the brine – a carefully crafted blend of vinegar, sugar, and spices. This brine is the secret to infusing your sanditas with that delightful balance of sweetness and tanginess. It’s the elixir that will turn your ordinary sanditas into extraordinary pickles.
5. Flavorful Additions
To take your pickled sanditas to the next level, it’s time to get creative with spices. Consider adding cloves, cinnamon, and bay leaves to your brine. These aromatic spices will give your pickles a unique and unforgettable twist. The choice of spices is your canvas, allowing you to craft flavors that resonate with your taste buds.
6. The Pickling Process
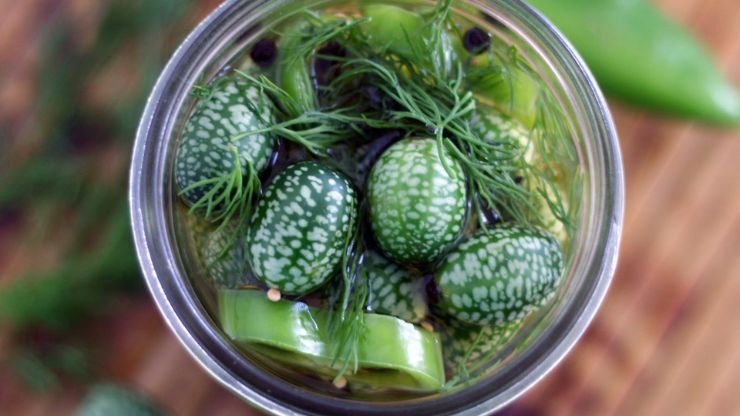
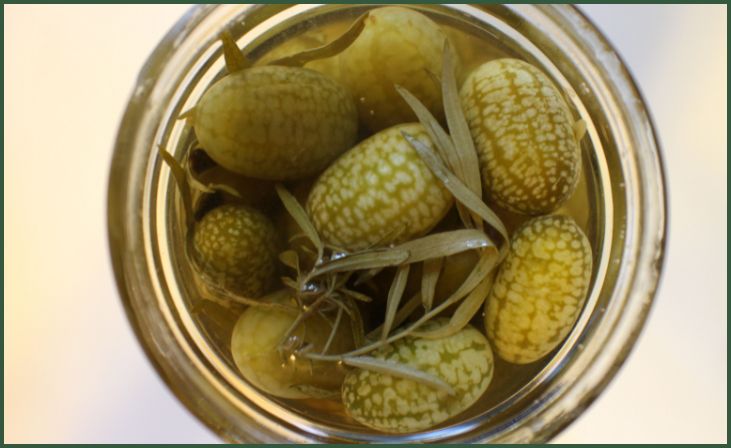
With your ingredients prepared and your brine perfected, it’s time to introduce your sanditas to their transformative bath. Gently place them into clean mason jars, making sure they are snug and cozy. Then, pour the carefully crafted brine over them. The secret here is to ensure that every sandita is fully submerged in the brine, ready to soak up the flavors.
7. The Waiting Game
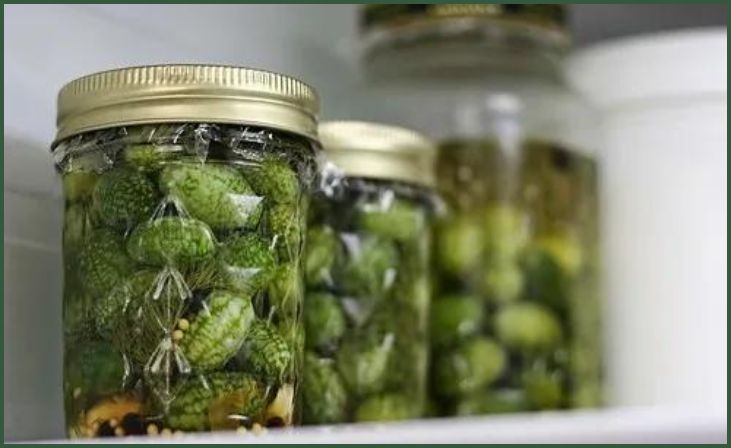
The final and perhaps most challenging step is patience. Seal your jars securely and then comes the waiting game. For the best results, allow your pickles to sit undisturbed in a cool, dark place for at least a week. During this time, the sanditas will absorb the flavors of the brine, reaching their full potential. It’s a waiting game that will reward your taste buds with the most delicious, healthy pickled sanditas.
Also Read:- Pickled Cauliflower From The United States
Conclusion
In the world of culinary delights, pickled sanditas stand out as a vibrant, flavorful, and utterly satisfying creation. As we reach the conclusion of our journey to making healthy and delicious pickled sanditas, we can’t help but reflect on the wonderful experience this process has been.
Creating pickled sanditas is more than just a kitchen experiment; it’s a culinary adventure that allows you to craft a delightful snack that’s not only mouthwatering but also healthy. With every step, from selecting the freshest sanditas to perfecting the art of pickling, you’ve embarked on a journey that showcases your culinary prowess.
The selection of the finest sanditas is where it all begins. Those ripe, firm, and blemish-free fruits are the canvas upon which you’ll create your masterpiece. The very essence of “fresh” plays a significant role in determining the ultimate flavor of your pickles.
Gathering your supplies, from clean mason jars to vinegar, sugar, and spices, is like assembling the tools of an artist. Each component contributes to the symphony of flavors that your pickled food will become.
Frequently Asked Questions
Yes, you can experiment with various fruits like cucumbers, cherries, or mangoes to create different flavors.
Properly sealed and refrigerated pickled sanditas can last for several months.