
Welcome to the exciting world of crafting your own Kefir Cheese – a culinary endeavor that promises creamy, tangy, and utterly delicious results. Kefir, a cultured dairy product rich in probiotics and packed with health benefits, serves as the star ingredient in this journey. Making your Kefir Cheese from scratch is not only rewarding but allows you to tailor the flavor and consistency to your liking.
In this article, we’ll walk you through the step-by-step process of creating this delightful cheese at home. Whether you’re an experienced cheese maker or a curious kitchen novice, our guide will provide you with the knowledge and techniques needed to craft a cheese that’s not only mouthwatering but also brimming with probiotics and nutrients. Get ready to experience the satisfaction of transforming a humble ingredient into a gourmet delight that will elevate your culinary repertoire.
What Is Kefir Cheese?
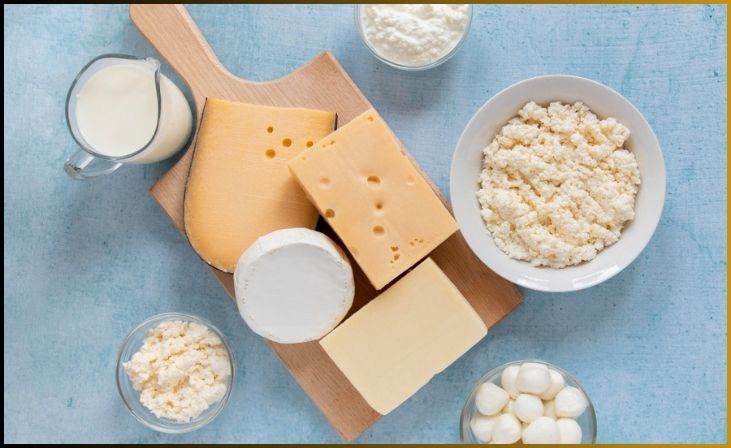
Kefir cheese is a dairy product made from Kefir, a fermented milk drink known for its probiotic content and numerous health benefits. Kefir grains, composed of bacteria and yeast cultures, are used to ferment milk. The result is a thick and tangy Kefir, which can be further processed into a delightful cheese.
Why You Should Make Kefir Cheese
By using extra milk kefir to make kefir cheese, you can enjoy the same gut health benefits while also creating a versatile and delicious product. Plus, making your own soft cheese can be a cost-effective way to get two products in one. If you or someone you know has a sensitive palate or is new to fermented dairy, kefir cheese can be a great option as it can be seasoned to suit any taste preference and mask the strong flavor of traditional kefir.
Kefir cheese, a creamy, tangy, and probiotic-rich delight, is a versatile addition to your culinary repertoire. Not only is it a flavorful treat, but it’s also relatively easy to make at home. In this comprehensive guide, we will walk you through the steps to create your own delicious Kefir Cheese. Whether you’re a seasoned cheesemaker or a curious novice, you’ll discover that crafting this cheese is a rewarding and enjoyable endeavor.
For More- Quick Probiotic Banana Pudding Cups
Ingredients You’ll Need
Before you begin, gather the following ingredients and equipment:
Ingredients:
- Kefir Grains: You’ll need active Kefir grains to ferment the milk. You can acquire them from a friend, online sources, or your local health food store.
- Milk: Opt for high-quality milk, whether it’s cow’s milk, goat’s milk, or non-dairy alternatives like coconut or almond milk. Fresh and full-fat milk tends to yield the best results.
Equipment:
- Glass Jar: Use a clean, glass jar with a lid to culture the Kefir.
- Plastic or Wooden Spoon: To handle the Kefir grains, use a plastic or wooden spoon to prevent any reaction with metal.
- Cheesecloth or Muslin Cloth: This will be used to strain the Kefir.
- Rubber Band or String: To secure the cheesecloth over the jar.
- A Bowl or Pot: To catch the whey that drains from the Kefir during the straining process.
Step-by-Step Guide
Step 1: Preparing Your Kefir Grains
Preparing your Kefir grains is the crucial first step in the journey to creating delicious Kefir cheese. To begin, ensure that you have active and healthy Kefir grains at your disposal. You can acquire these grains from a trusted source, whether it’s a friend, an online supplier, or your own home culture.
Once you have your Kefir grains ready, it’s time to set the stage for fermentation. Choose a clean, glass jar with a lid, emphasizing the importance of maintaining a sterile environment. This cleanliness is essential to encourage the right kind of fermentation and to prevent unwanted bacterial contamination.
With your jar ready, place the Kefir grains inside. The next step is to pour the milk of your choice over the grains, ensuring that they are fully submerged. This milk can be cow’s milk, goat’s milk, or even non-dairy options like coconut or almond milk. The grains will interact with the milk, initiating the fermentation process that will eventually lead to the creation of delicious Kefir cheese.
Step 2: Fermentation
Fermentation is the transformative process that turns milk and Kefir grains into the creamy and tangy Kefir, which serves as the foundation for Kefir cheese. During this phase, the live cultures within the Kefir grains, composed of bacteria and yeast, interact with the milk. This interaction is what sets fermentation in motion, as these microorganisms consume the milk’s sugars, converting them into lactic acid and other compounds. This not only thickens the milk but also imparts the characteristic tang and probiotic richness that Kefir is known for.
The fermentation time, typically lasting between 24 to 48 hours, can vary based on factors such as room temperature and the specific Kefir grains used. It’s crucial to monitor the Kefir’s progress during this phase, as it’s ready when it has thickened, and you can observe a separation between curds and whey. The result of this fermentation process forms the basis for crafting your delicious Kefir cheese.
Step 3: Straining
Straining is a pivotal step in the process of creating Kefir cheese. After the initial fermentation of Kefir, it’s time to separate the thickened mixture into curds and whey. This is achieved by gently pouring the fermented Kefir into a piece of cheesecloth or muslin cloth, which is suspended over a bowl or pot. The purpose of straining is to remove excess whey, thickening the Kefir and transforming it into a more cheese-like consistency.
The straining duration is flexible and can be adjusted to your preferences. A shorter straining time results in a creamier, yogurt-like consistency, while a more extended straining period yields a denser and more traditional cheese texture. Throughout this process, the whey is collected in the bowl or pot below, and you’re left with Kefir cheese in the cloth. The separated whey can be saved and used for other culinary purposes, ensuring minimal waste.
Step 4: Enjoy
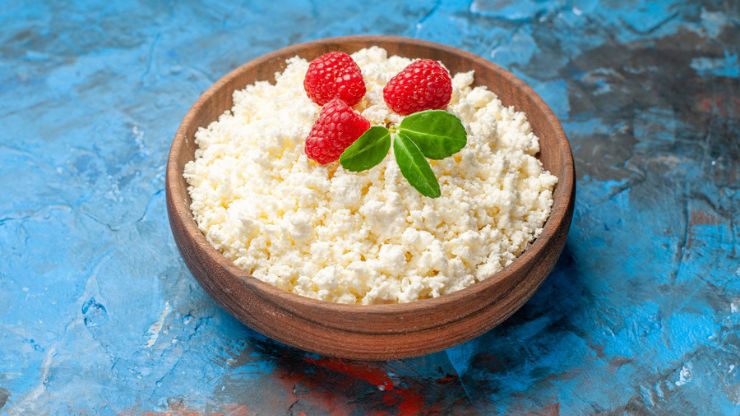
After completing the steps of fermentation and straining, your homemade Kefir cheese is ready to be enjoyed. This delightful dairy product, with its creamy texture and tangy flavor, can be savored in a variety of ways. Whether you choose to enjoy it plain, spread on toast, or as a flavorful addition to your favorite recipes, Kefir cheese is a versatile treat.
The beauty of homemade Kefir cheese is the freedom it offers for personalization. You can experiment with different seasonings and flavorings, adding fresh herbs, garlic, lemon zest, or a pinch of salt to tailor the taste to your liking. This versatility opens up a world of culinary possibilities, from using it as a dip for fresh vegetables to incorporating it into baked goods or desserts.
Tips and Variations
- Consistency: Adjust the consistency of your Kefir cheese by altering the straining time. A shorter straining period results in a creamier cheese, while a longer one yields a denser, more traditional cheese.
- Flavorings: Experiment with various flavorings and seasonings, such as fresh herbs, garlic, lemon zest, or honey, to customize your Kefir cheese to your taste.
- Storage: Store your Kefir cheese in the refrigerator. It will continue to ferment, becoming tangier over time. Consume it within a reasonable timeframe.
- Whey: Don’t discard the whey that drains from the Kefir during straining. It’s packed with nutrients and can be used in smoothies, baking, or fermenting other foods.
Benefits of Homemade Kefir Cheese
- Probiotics: Homemade Kefir cheese is a rich source of probiotics, which are essential for a healthy gut microbiome.
- Nutrient-Rich: Kefir cheese is packed with vitamins, minerals, and essential amino acids, making it a nutritious addition to your diet.
- Versatility: You can use Kefir cheese in a variety of dishes, from spreads to dips and even as a topping for salads or baked goods.
- Freshness: When you make your own Kefir cheese, you have control over the ingredients and can enjoy it at its freshest.
Troubleshooting Common Issues
- Kefir Not Fermenting: If your Kefir isn’t fermenting, check the temperature, as it may be too cold. Make sure the room is warm enough for fermentation.
- Separation Issues: If the whey isn’t separating from the curds during fermentation, the Kefir grains may not be active. You can try a longer fermentation period or obtain new grains.
- Inconsistent Texture: If your Kefir cheese is inconsistent in texture, experiment with straining times to achieve your preferred consistency.
Also Read- How to Make Sour Cream
Conclusion
In the world of homemade dairy delights, crafting your own Kefir cheese is a rewarding and enjoyable endeavor. This versatile treat offers a creamy and tangy flavor, brimming with probiotics and health benefits. By following the steps outlined in this guide, you can unlock the secrets of creating Kefir cheese from scratch and explore the endless possibilities it offers.
With the ability to customize its consistency and flavor to your liking, Kefir cheese becomes a versatile addition to your culinary repertoire. Whether you enjoy it plain, as a spread, or as an ingredient in your favorite recipes, its creamy texture and probiotic-rich goodness make it a standout addition to your diet.
FAQs
Yes, you can use alternatives like coconut milk or almond milk to make non-dairy Kefir cheese. The process is similar, but the flavor and consistency may vary.
Kefir cheese can be stored in the refrigerator for several weeks. As it continues to ferment, it may become tangier over time. Consume it within a reasonable timeframe for the best flavor.
The whey is rich in nutrients and can be used in various culinary applications. It’s great for making smoothies, baking, or fermenting other foods.
Yes, you can customize the consistency by altering the straining time. A shorter straining period results in a creamier cheese, while a longer one yields a denser, traditional cheese texture.